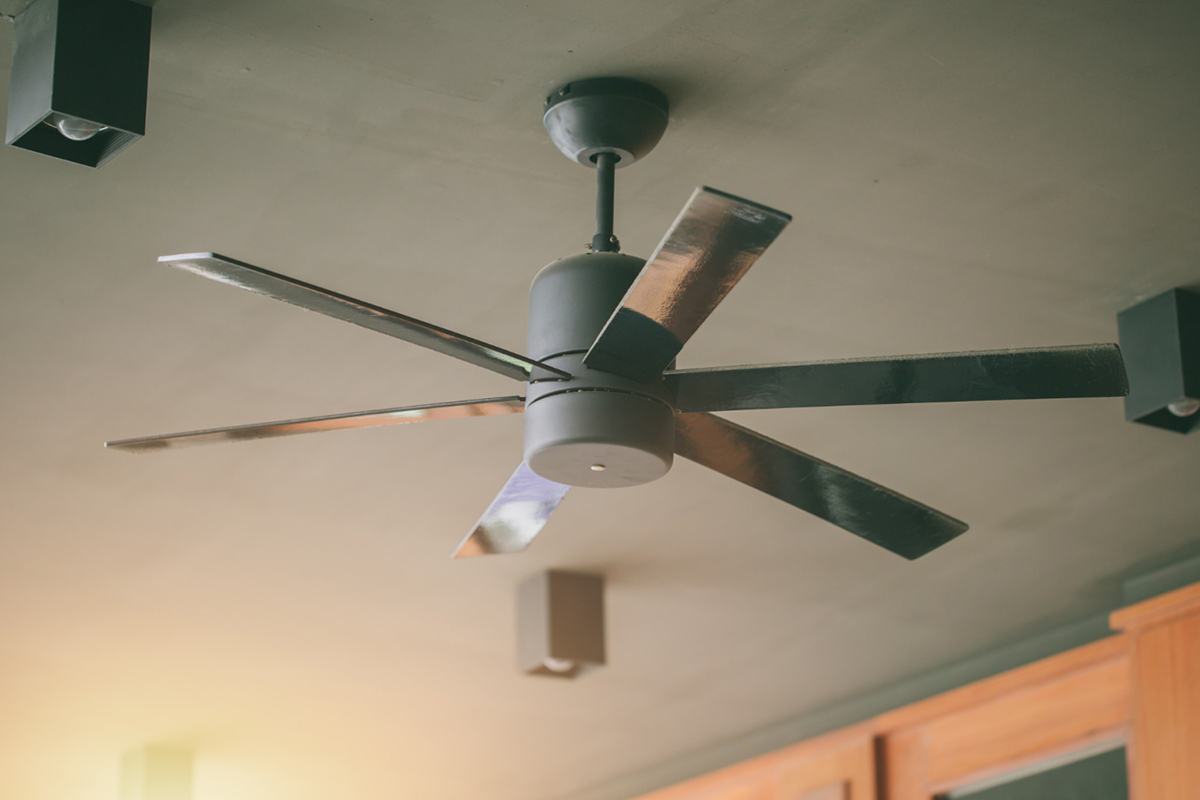
Installing a ceiling fan may not be as complicated as you think. In fact, it can be a relatively simple DIY project. But if you’re not comfortable with electrical work, don’t take any chances. There are countless licensed electricians out there who can help you with this task. If you’re in Winter Park, FL, Spectrum Electric is the right company to call. They have a team of professionals who can get the job done perfectly. But before you make that call, let’s dive into what you need to know about installing a ceiling fan.
Choose the right location
The first thing to consider is where you intend to install your fan. You’ll need to ensure the blades are at least two feet away from any walls, sloped ceilings or beams, and air vents. If your ceiling is sloped, not all fans will work – you may need a specifically designed sloped ceiling adapter. Knowing where to install the fan will make the wiring and installation process easier.
Check your wiring
If you’re planning to replace an existing light fixture with a ceiling fan, most of the wiring work has already been done for you. Just make sure you switch the power off before proceeding. You’ll find two wires – a white neutral wire and a black or red power wire – that need to connect to your ceiling fan. If you don't have an existing fixture, you’ll want to ensure that there is wiring present to support the fan. If there isn’t any, call an electrician.
Get the right tools
Installing a ceiling fan requires specific tools, including wire strippers, pliers, a screwdriver, and a ladder. Make sure you have everything you need before you start. It's easy to get frustrated if you start your installation only to realize you're missing a tool.
Follow instruction
Every ceiling fan comes with an instruction manual. Don't disregard it – it’s essential to follow the instructions step by step, even if you think you know what you’re doing. Check the manual to see if the manufacturer provides a video tutorial or an installation manual to help you understand the process better. For some fans, you might need to put together blades first before attaching them to the fan motor and then hanging the entire assembled unit from a mounting bracket and hooking up the electrical wires.
Add on the finishing touch
After you have wire everything and hung up the fan, install the light kit if you have chosen a ceiling fan with one. The light kit that comes with your fan often does not include the right bulbs, so make sure you’re using the appropriate bulbs for your fan to work entirely. Test everything before you well and replace any light covers or globes that came with your ceiling fan that you removed during the installation process.
Conclusion
Once you have everything set up, it's crucial to test your ceiling fan before calling it a day. Switch on the power and test the fan and lighting functions. This will ensure that everything is working as it should and help you fix any problems before you pack up your tools. Installing a ceiling fan is safer for property owners than DIY, so if you're not comfortable with electrical work, contact Spectrum Electric today. They will arrive at your property, inspect your ceiling, and recommend the appropriate ceiling fan and accessories. They will then provide you with a detailed quote, including the price for parts, labor, and time to completion. A professional ceiling fan installation service will not only ensure that the job is done correctly and safely, but it will also save you time and effort in the long run.