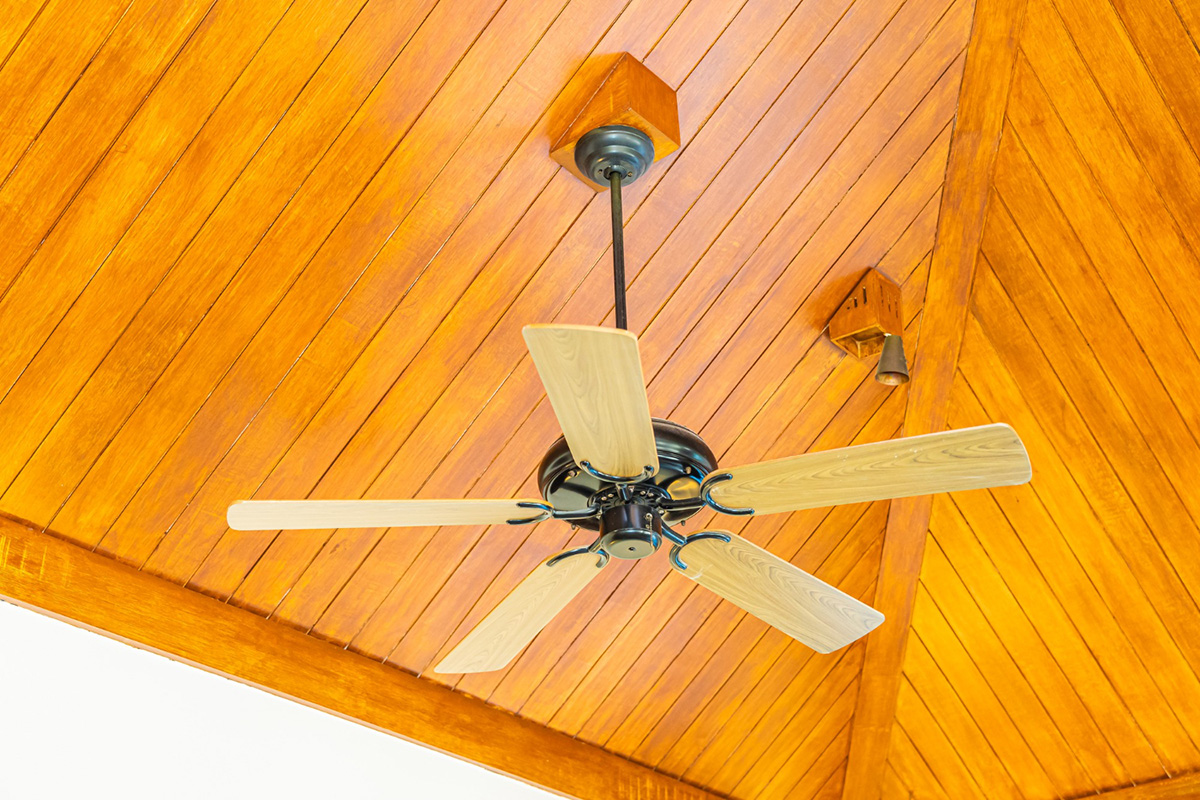
Installing a ceiling fan can be a great way to add light and ventilation to any room. Not only is it relatively simple, but it’s also an inexpensive upgrade that can instantly improve the look and feel of your home. If you’re looking for an easy DIY project, then you’ve come to the right place! Here’s how to install a ceiling fan in six easy steps.
Step 1:
Turn off power at circuit breaker. Before beginning any electrical work, you must turn off the power at the main circuit breaker. This step is absolutely essential for your safety, so do not skip it!
Step 2:
Attach mounting bracket. Use the screws provided with your fan kit to attach the mounting bracket directly into a joist or brace above the ceiling. Make sure that the screws are securely fastened so that your fan will stay in place when it is turned on.
Step 3:
Connect wiring from fan motor and light kit. You will need to connect both the wires from the fan motor and those from the light kit according to your specific model of ceiling fan. Pay close attention to which wire goes where because this step could cause damage if done incorrectly.
Step 4:
Hang fan motor assembly on mounting bracket and connect remaining wiring. After connecting all of your wires, hang the fan motor assembly on top of the mounting bracket by pushing down on it until it clicks into place. Then, connect any remaining wiring as needed before moving onto step 5.
Step 5:
Secure canopy cover with screws provided in kit (if necessary). Depending on what type of ceiling fan you have, you may need to secure a canopy cover over your wiring with small screws that should be provided in your installation kit (check manufacturer instructions).
Step 6:
Turn power back on at circuit breaker and test functionality of both lights and fan motor switches (if applicable). Once all connections have been made and secured, turn power back on at circuit breaker and test out all functions of both light kits (if applicable) and fans motor switches (if applicable). If they all function properly, then congratulations! You’ve successfully installed a new ceiling fan!
Conclusion
Installing a new ceiling fan can be an intimidating process if you don’t know what you're doing—but with our guide, we hope we made it easier for you! Now that you know how easy installing a Ceiling Fan can be, why not take some time today to upgrade one room in your home? If you find yourself stuck or unsure about any part of this process – don't hesitate to reach out for help from experienced electricians such as Spectrum Electric Inc., who specialize in helping customers in Winter Park FL tackle their electric projects safely and efficiently!